This is another paid-for course, again with Grant Abbitt as the tutor. This took me a while to complete, there was a lot to learn. But, again, Grant took us through everything and explained why things were being done. I got the course through Gamedev.tv, there are quite few other courses to look at, mainly for game design.
First we learned how to add shapes (mainly blocks) to a scene and add textures to the blocks. This is the sort of thing that familiarises the user with the setup of Blender and how to change things. It’s also useful if you’ve already done a course covering these things but forget quite easily.
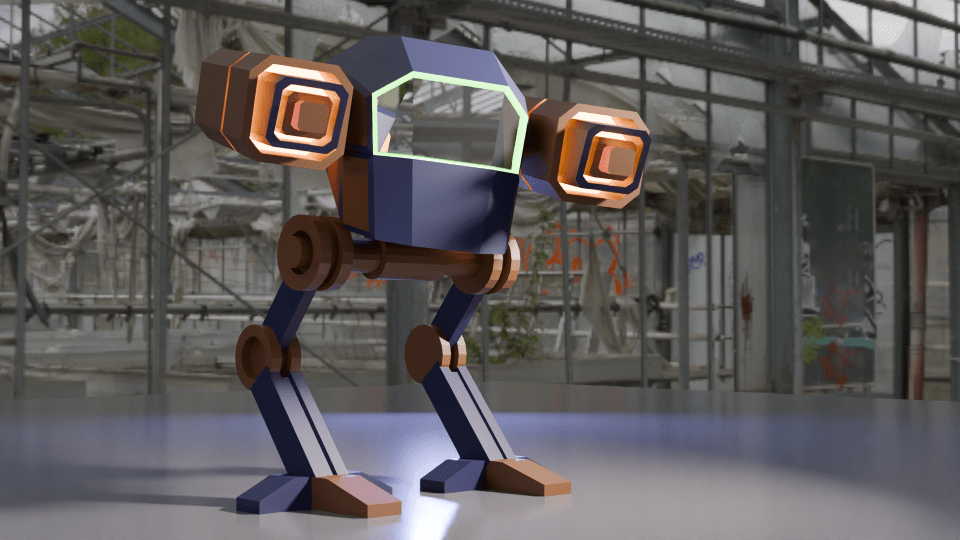
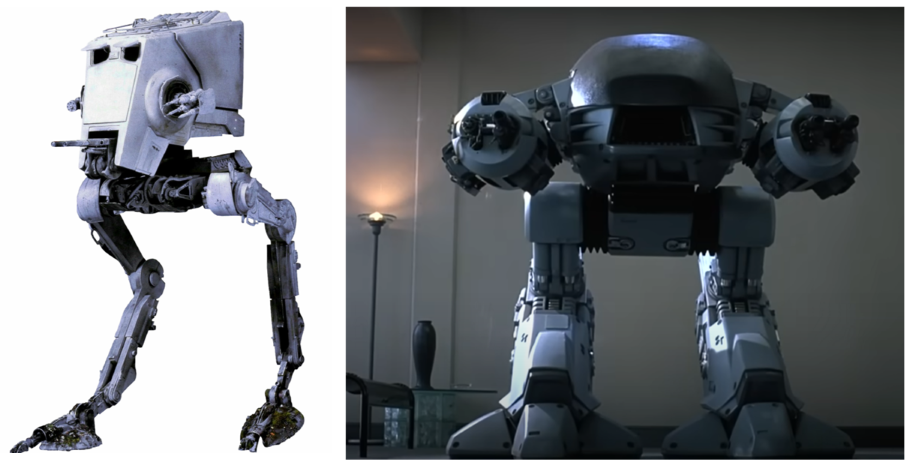
Secondly, we made a ‘mech’. This was a stylised all-terrain mobile gun and sort of a cross between ED 209 from Robocop and the two-legged transports in Star Wars.
The build was an exercise in hard-body modelling, one of the things I wanted to learn so that I could design things for 3D printing. Hard-body modelling is one of those things that you learn by doing. This became apparent as Grant guided us through the build and showed how to get from a cube to the cockpit by cutting and shaping in a particular order.
A chassis and legs came next, then the guns.

It’s a very angular look, this is done on purpose to achieve a ‘low poly’ aesthetic. The number of polygons (individual faces) affects how quickly a computer running a game can operate. You want the computer to be able to present good gameplay without a fiddly, highly detailed object slowing the computer down. The ‘low poly well’ I made earlier in this series is another example of this idea.

The artistic side is the painting. We can add colours and textures to any ‘face’ in the model, so that the guns have a range of colours and glowing parts and there’s a green glow around the windscreen.

Setting the scene is another arty part and it’s best to get it right to show off the work. I changed the colours, because the sort-of camouflage was a bit dull, so I thought some vibrant colours would work well1.
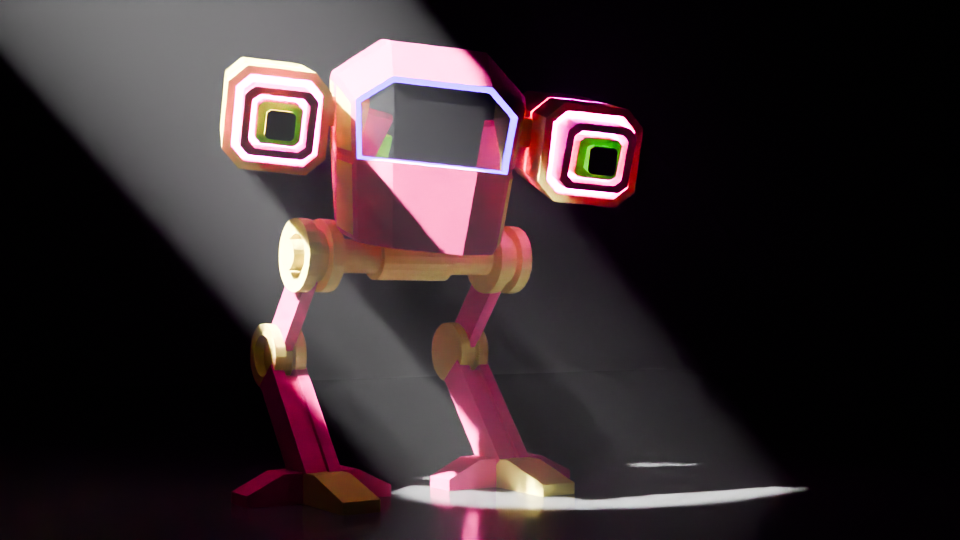
Finally, I made a more fabulous version, with glitter (which took a while to learn how to do). I added a camera circle so that the true magnificence of the final design can be appreciated.
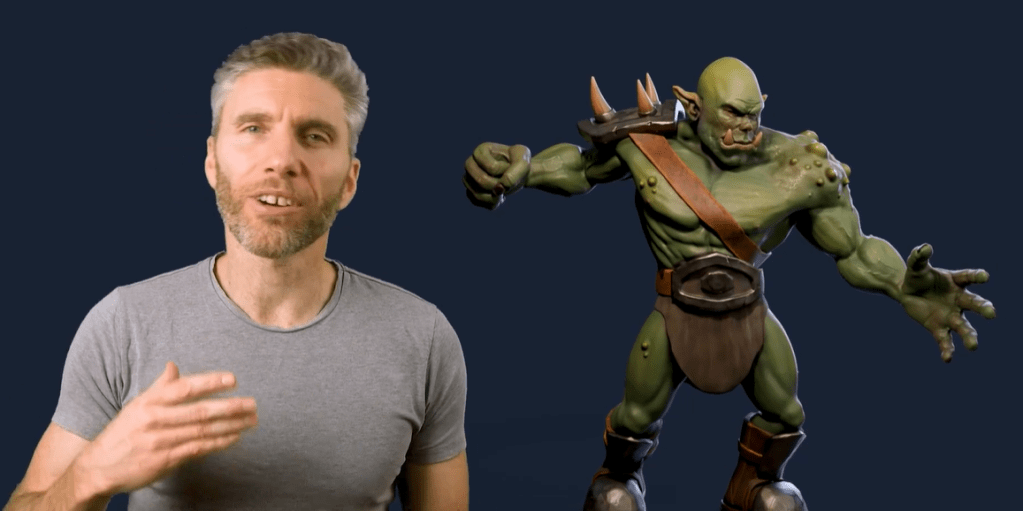
The next parts of the course leads up to sculpting, colouring and animating an orc. This took a few weeks to complete, I’ll post the progress in a couple of separate posts.
- Work well for image purposes. Maybe not so well on a battlefield. ↩︎

Leave a reply to Return of the Mech – Grim up North Heath Cancel reply