Taking 3D design seriously
I’ve been working with 3D design for about two years. As a pharmaceutical scientist, I’ve been keeping track of possibilities in 3D printing tablets and other dosage forms. There’s been some interesting recent work on this and in custom design of arm casts. At my last job, we bought an Ender 3 Pro in early ’23 and set about finding uses for it.

I used TinkerCad for most of the design work.
We used it to design all sorts of things – new funnels, inserts for spectrophotometers, toroidal propellers and flexible substrates for rheology testing. But I kept seeing Blender being mentioned when I looked on YouTube for help with 3D design. But I thought Blender was scary. Just look at it!
There’s loads of stuff on there! And that’s just one window! Sculpting? UV Editing? Eh?
But it is supposed to be a good program to learn 3d design, animation and simulations. I’d also had an idea to make a 3d print of a SEM image I took some years ago of a fractured oil droplet.

This sort of thing was beyond the scope of TinkerCAD, but it turned out it was (relatively) simple in Blender. Well, I followed a tutorial on how to add things at random over a surface. I needed this because other images we took showed that there’s bumps all over the surface of the droplets. So with a knobbly hemisphere generated in Blender, I used TinkerCAD to add the rock-like frozen fractured oil interior. Then it was a matter of slicing and printing.
Easy.
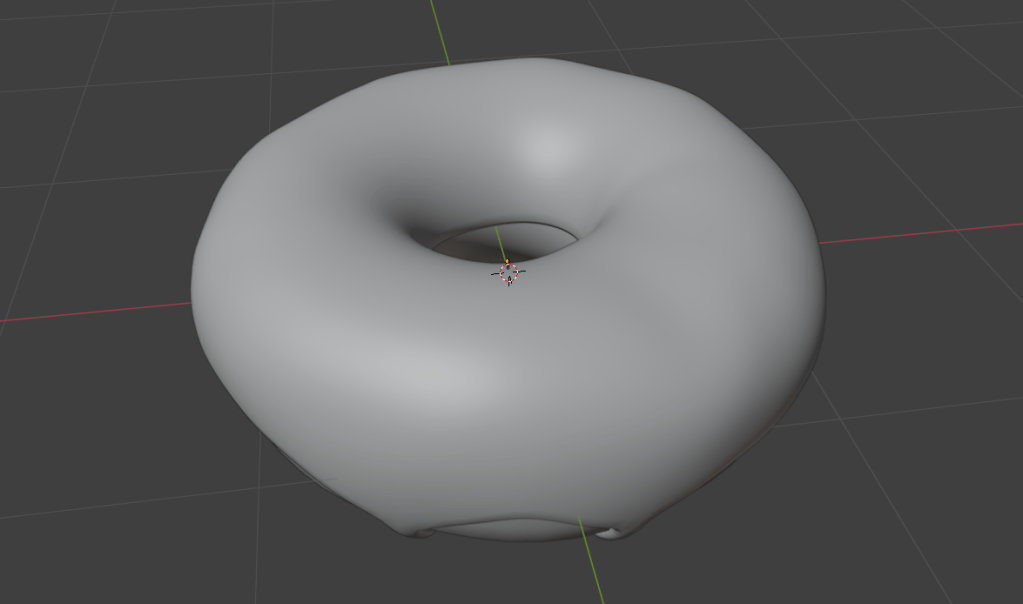
I’d made a doughnut in September following a YouTube course (see below), which as OK I suppose.
After faffing around a bit, I decided to give Grant Abbitt’s Low Poly Well a try. I chose this because Grant is an excellent tutor. He’s clear, doesn’t skip over bits (no ‘draw the rest of the owl’ nonsense) and has been using Blender for 20 years. He’s also English, so he says ‘zed’, rather than ‘zee’.
So I’m going to see how the low poly well goes. This will be under ‘Blender’ in this blog.

Leave a comment