Based on a recipe I can’t find for an Iranian dish. It falls under the general category of ‘pilaf’, where rice is cooked with other stuff. Chicken is spatchcocked to (a) reduce cooking time and (b) fit in the roasting tin.
Timings: Prep: 20 minutes. Cooking: 1 hr to 1 hr 15. Eating: about 10 minutes.
Ingredients
Medium roasting chicken (1.8 kg ish)
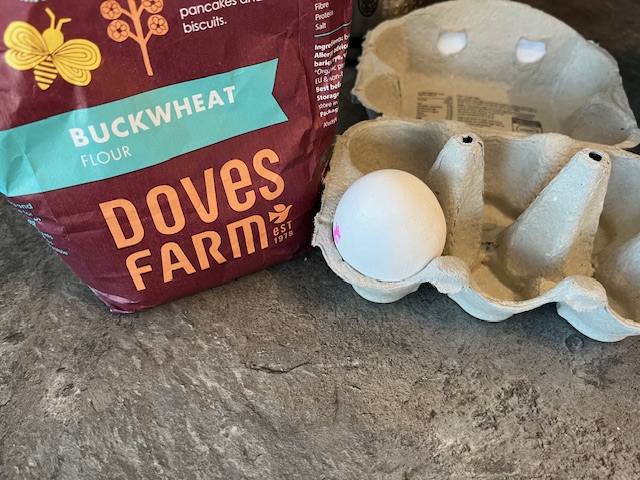
250 g basmati rice
500 ml chicken or veg stock (I used Knorr stock pots)
One onion
6 cherry tomatoes or a couple of normal tomatoes
One carrot (diced) and a handful of raisins
A teaspoon each of chilli flakes, cumin, oregano, and black pepper (to be more authentically Iranian, sumac should be used. But I didn’t have any. Sue me).
Method
Set oven to 180 C (fan). Will need at least one hour, up to 1 hr 15 min.
Chop the onion into thick slices and scatter on the bottom of a lined roasting dish. Cut the tomatoes and add to the onions.
Spatchcock the chicken (pictures below). I marinated the chicken overnight – rub the skin with olive oil and salt, put into a big plastic bag and put in the fridge. I try and do this when I do a roast, it tenderises the meat.
Add the chicken to the roasting tin.
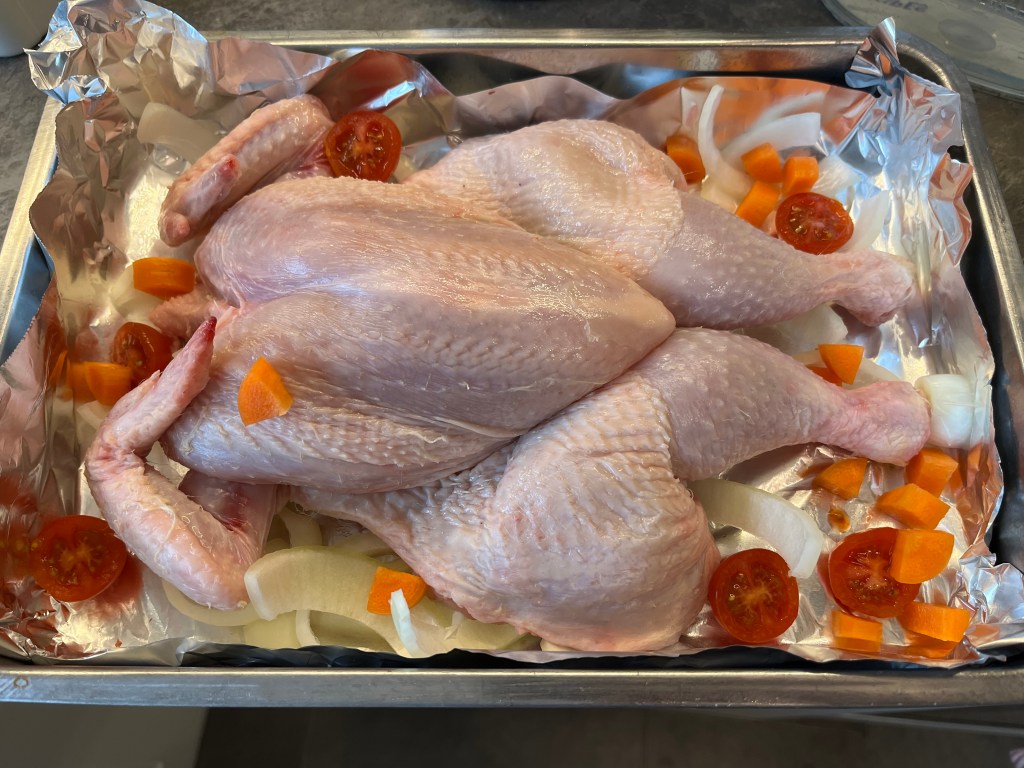
Add the rice, diced carrots and raisins. Pour over the stock.
Cover with baking parchment, then foil to seal in the steam as it cooks.
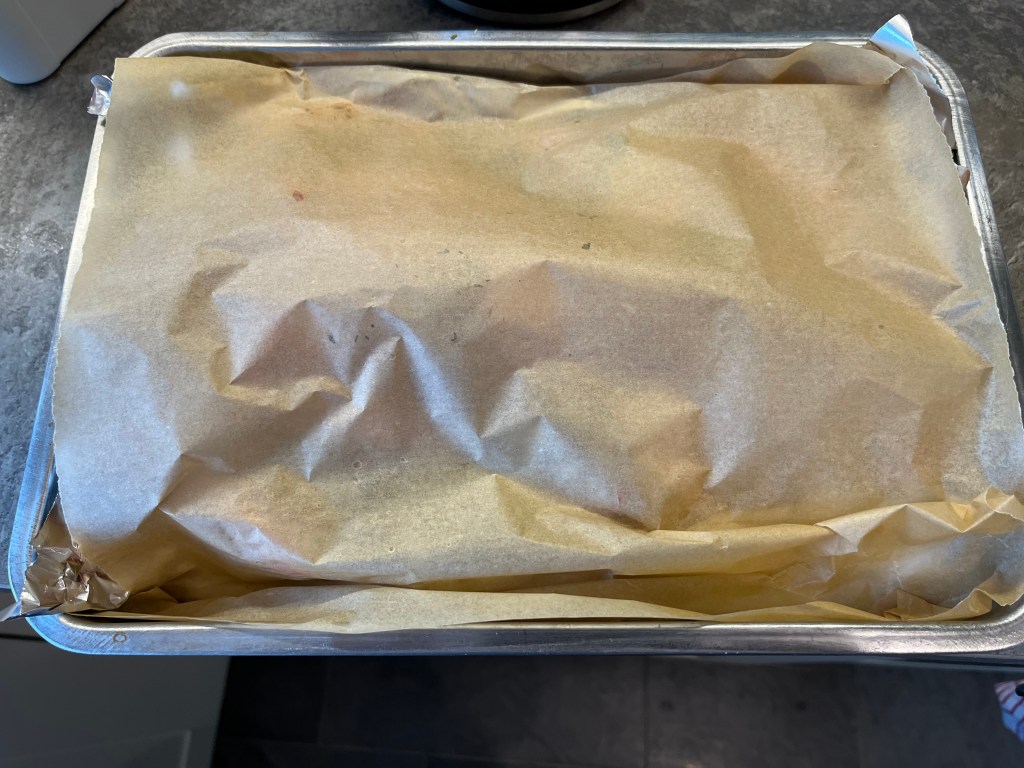
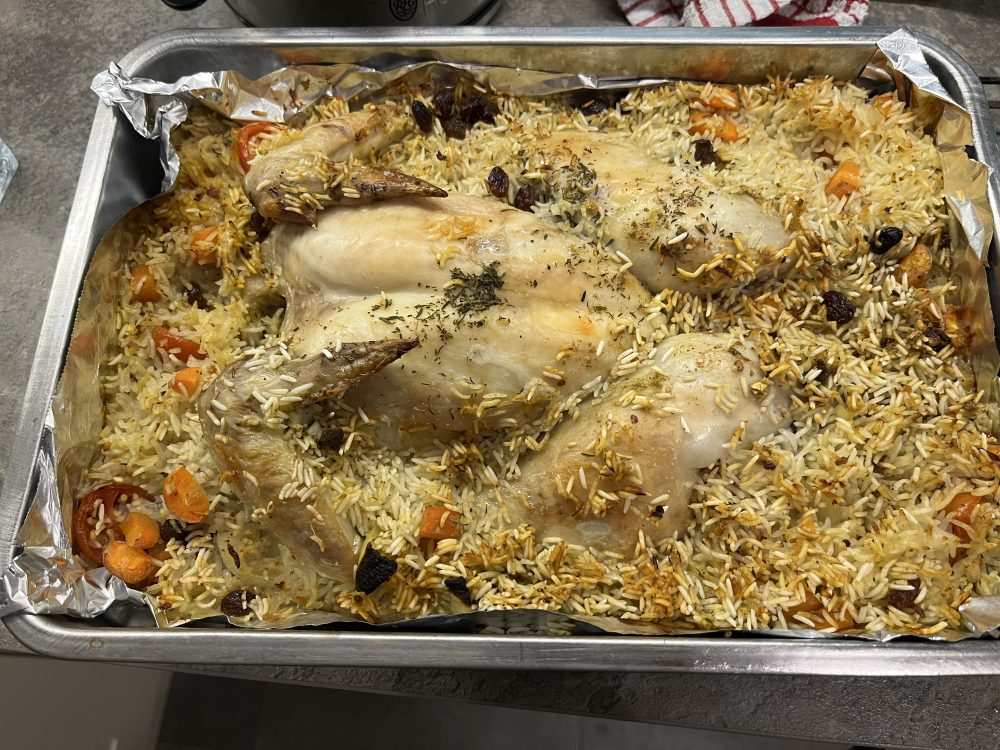
I used a thermometer to check that the chicken was cooked. After an hour it was nearly done (not yet at 74 C) , but the rice looked a bit dry on top so I added 100 ml water. I gave it another 10 minutes and it was done.
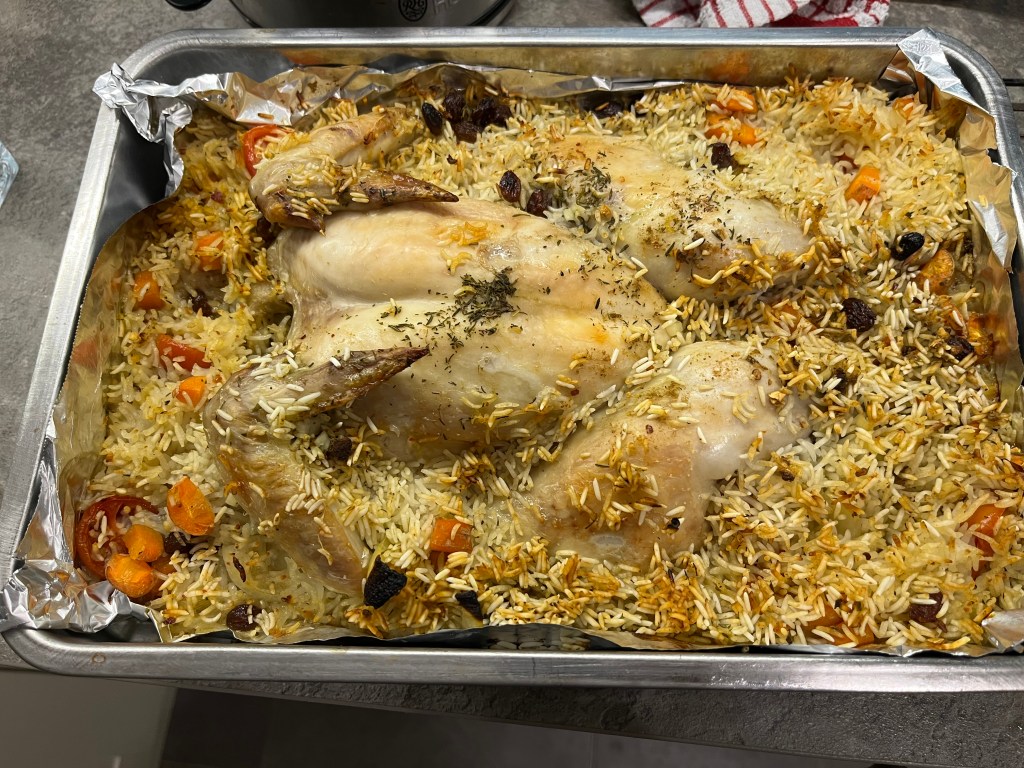
There was a nice contrast in textures between the rice at the top and the rice at the bottom, so there was crunch and softness.
I’d go heavier on the spices next time. Maybe buy sumac, or look into the traditional Turkish method.
Also some recipes call for grilling the dish before serving to brown the chicken and give extra burned rice. Maybe next time.
Spatchcocking a chicken
This is removing the spine of the bird and pressing it flat so it cooks quicker.
I bought bone scissors some time ago because doing this without the proper tools hurts and can ruin a normal pair of scissors.
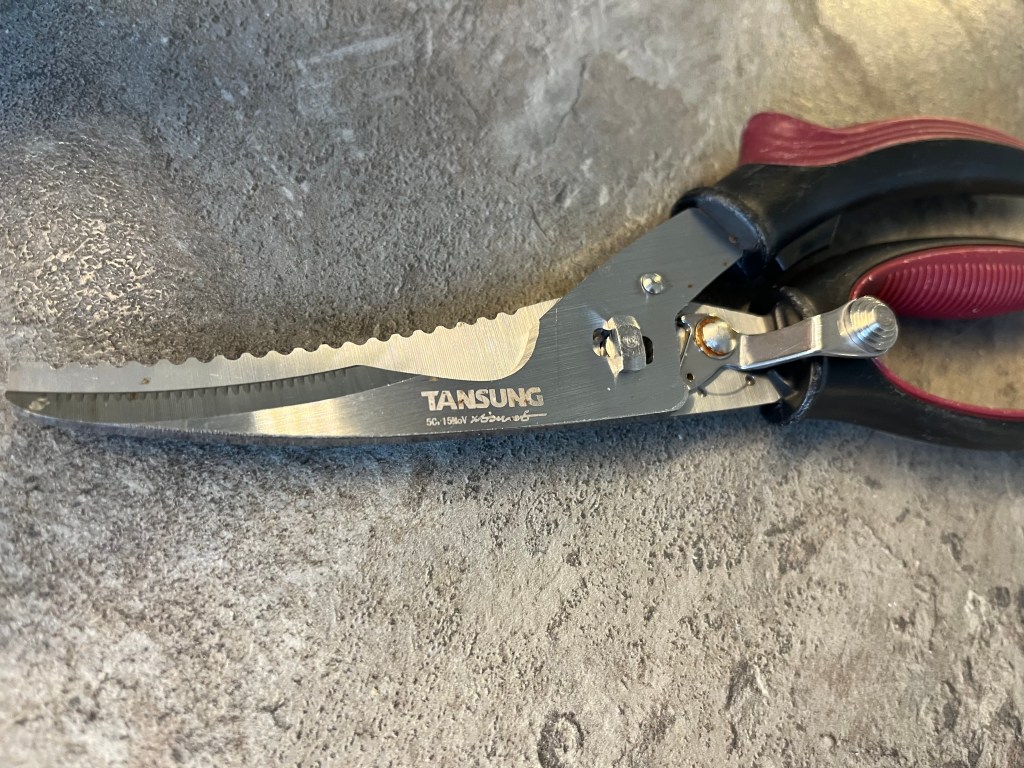
I use these to cut the legs off roasted chicken, so they are used at least once a month. And they come apart and are dishwasher safe.
I chopped off the parson’s nose then cut down one side of the spine. The skin is more difficult to cut properly with these scissors. I removed the spine fully.
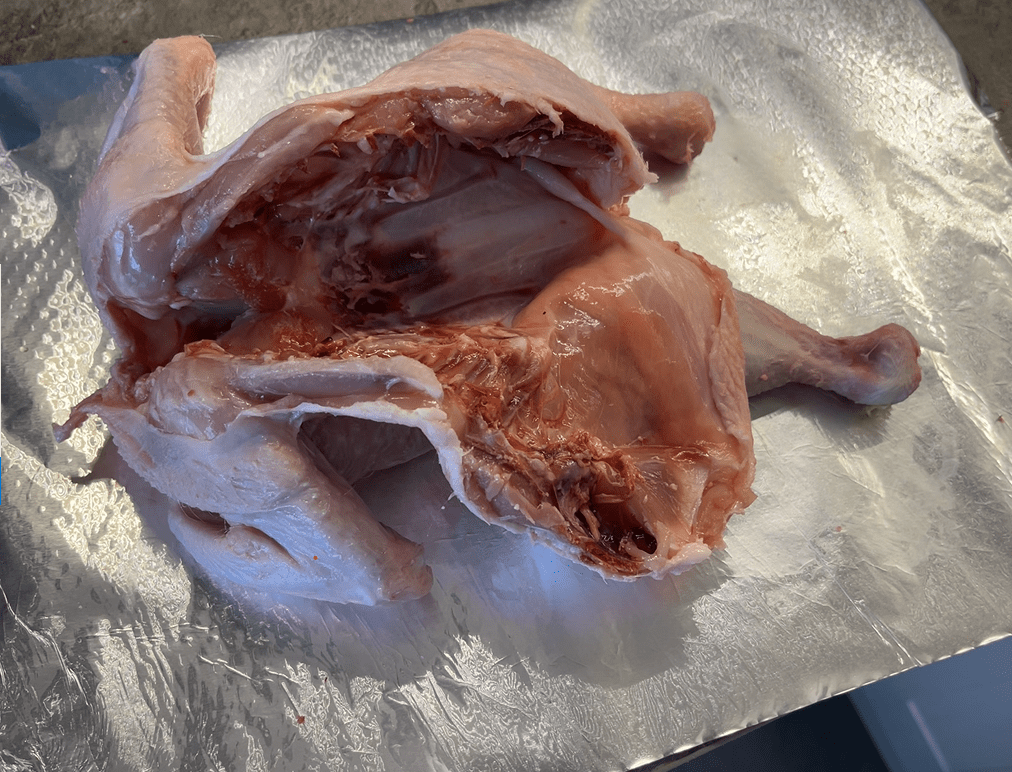
I wiped the inside with kitchen towel to get rid of rogue bits from inside. Turn it over and press down to flatten. The wishbone needs to be broken so the bird will lie flat.
Spatchcocking reduces cooking time by about half.