
Having finished the course on Udemy I had a look round for the next thing to have a go at. In the mean time I’ve done a few more tutorials from YouTube and been mostly pleased with the results.
A minor issue with the videos is that the Blender software has been updated many time over the years and some features have moved, so I do hit a wall occasionally.
Luckily, the internet is full of advice and there is always someone who has had the same problem.
One such issue has centred on Rendering. This is the process of getting from the grey blobs and lines, to coloured images and finally to a .png file or a usable animation.
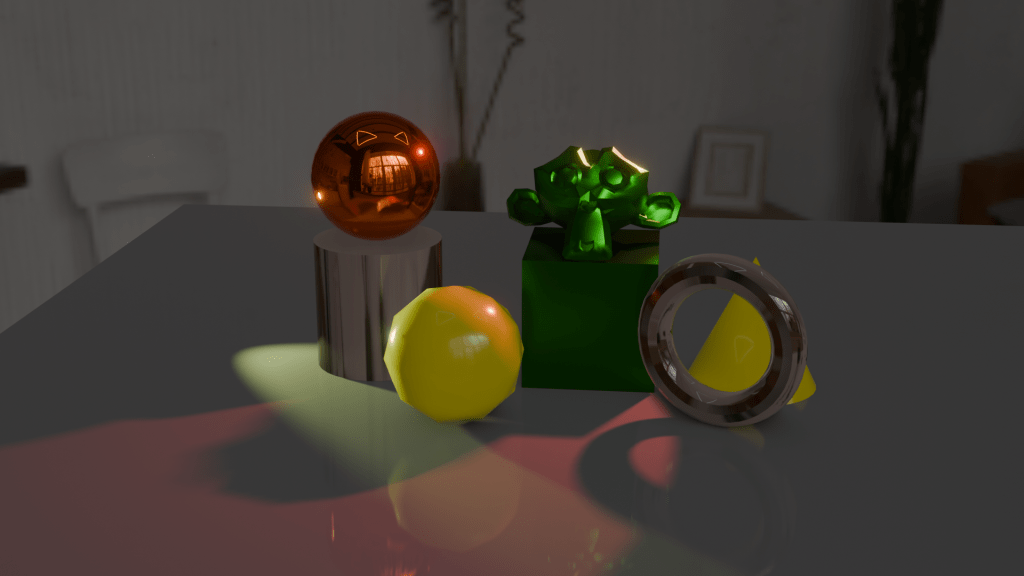
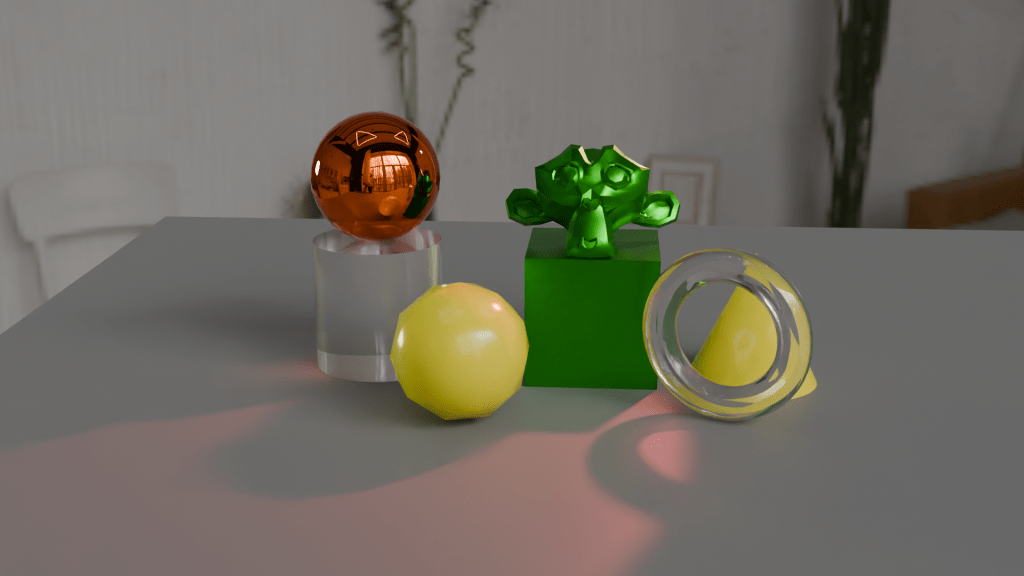
If you look at the glass doughnut in the two images, you can see why cycles is preferred for end results. The light from the yellow pyramid has been diffracted in a realistic way in the Cycles render, but EEVEE doesn’t do as good a job. You can fiddle with the settings to improve matters, but I will leave that for the future.
The EEVEE render engine (Extra Easy Virtual Environment Engine) is the fast renderer in Blender. It acts as a game engine, so it produces good quality images for the purposes of quickly seeing what you have made.
For better visuals, you need Cycles, which takes more time to come up with the goods because it cycles through the image properties to perform ray-tracing. This is where the paths of the lights are calculated so that, as in the images above, the light from the yellow cone is refracted in a more realistic way through the glass torus. Reflections also look better in Cycles.
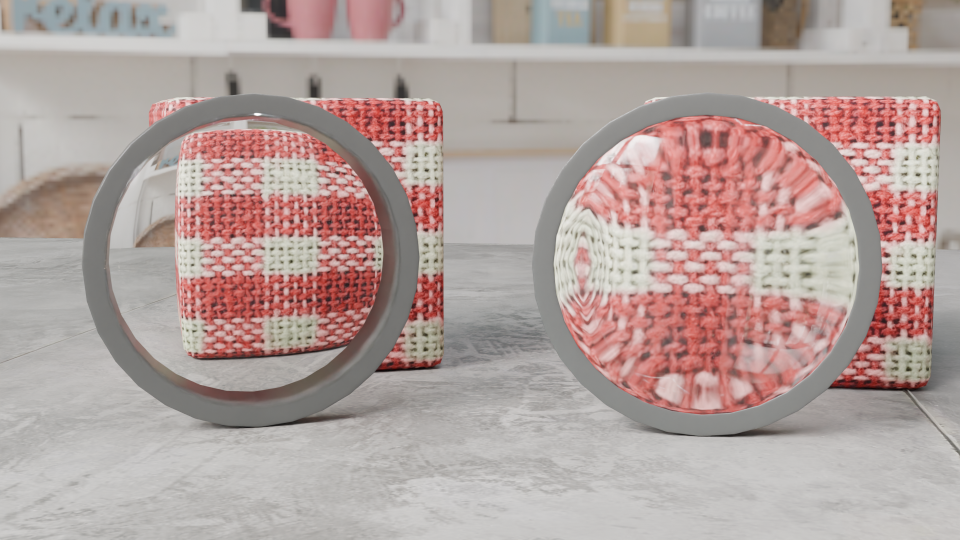
Fiddling with the settings of the glass will give better results, for example changing the index of refraction (IoR) of the glass will change how the light interacts with the material. I did this for the spinning beer mug, stills are shown below. One has a glass edge (IoR = 1.45), the other has a diamond edge (IoR = 2.5).
You can also use a change in IoR to make different lenses. Since we aren’t concerned with reality there is the potential to make a lens with a IoR of less than 1. Such a thing is not possible (at the moment for visible light1), but since Blender computes light rays we can have fantasy physics.
So I made two lenses, both biconvex like the lens of the eye. In the picture below, the one on the left has an IoR of 0.8, the one on the right’s IoR is 1.45 (glass).
I’m not sure what application this will have in 3D modelling, but it is interesting to muck around with what’s possible.
- This has been done for microwaves using metamaterials, but that’s not relevant to what I’m talking about here. ↩︎
