Sculpting is the name of the game for the final part of the Udemy course.
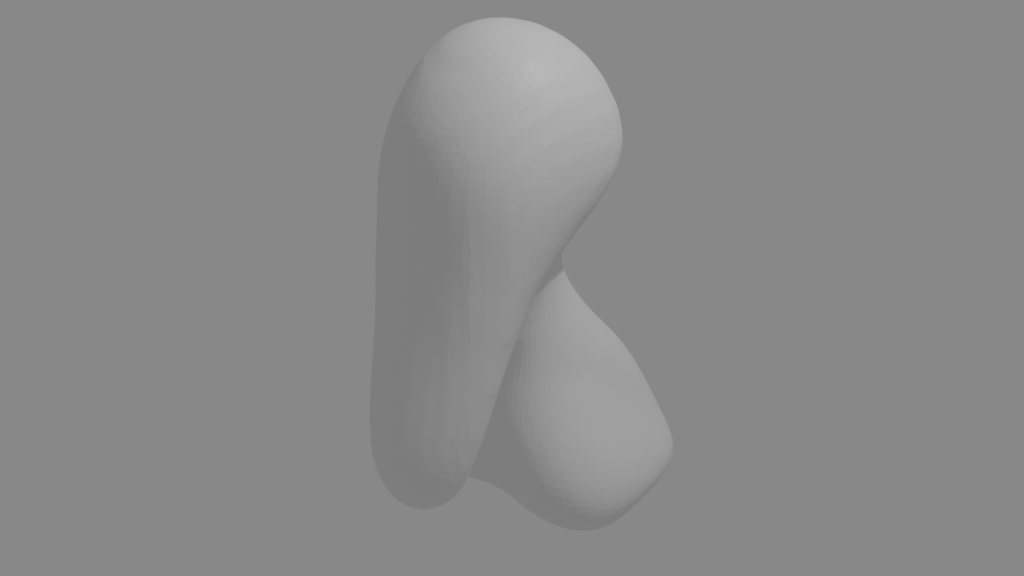
We start with a blob of virtual clay that we use various tools (with exciting names like ‘Grab’ and ‘Clay’) to pull and push the material around.

The idea is to get an exaggerated face, suggestive of a creature not of this world. Grant shied away from the word ‘demon’, but there is something demonic about the face that’s emerging.
The lips are made by pinching the clay and the philtrum similarly, but also pressing into the clay to give a more realistic look.
The eyes are just spheres. Getting them in the correct place needed a bit of reference to real figures. I never knew that the average face is 5 to 6 eyeballs wide.
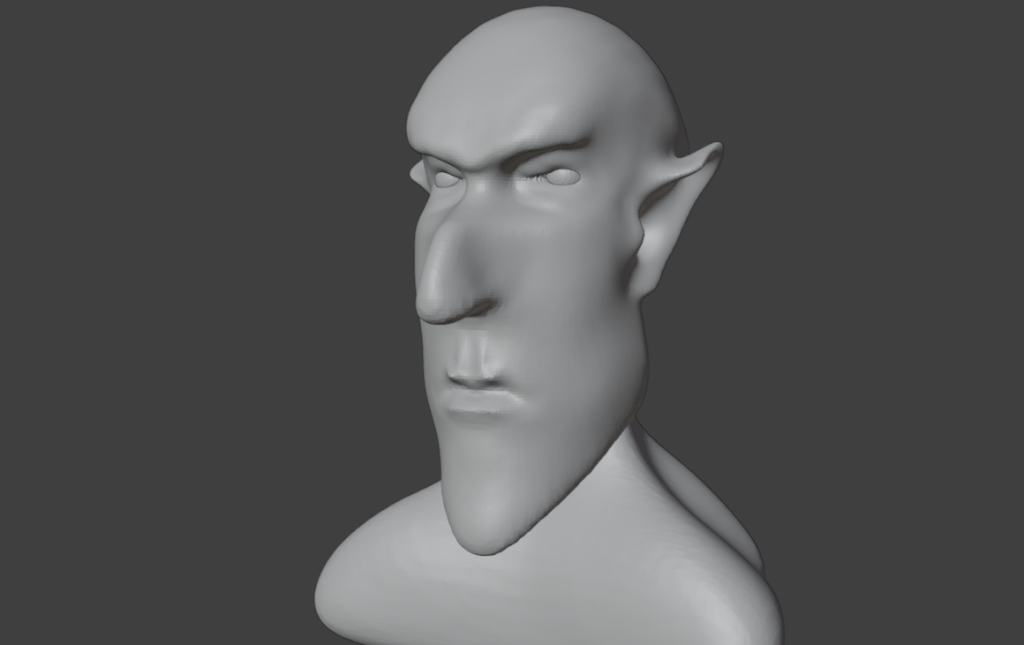
Ears are essential, of course. These started out as discs but grabbing, pushing and pinching yielded Spock-like ears for that authentic demonic / otherworldly appearance.
Some final additions include giving Bob (as he was now called) a cleft chin and horns. Warts, too – a nice double set, just like Lemmy out and off of Motörhead had. And horns, which Lemmy never had.
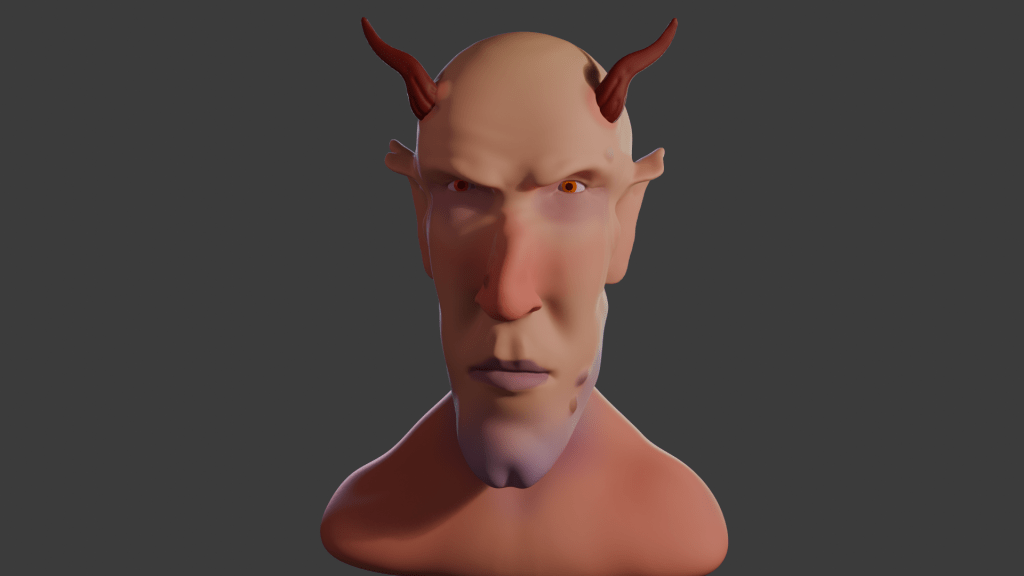
The clay can be painted on directly, using a variety of brushes and all the colours you can wish for.
An important part of the visual set-up is lighting. Grant didn’t shy away from this part, which too many tutors do. There are four lights1 for this image, two back lights an area light and a main light.
Unlike a real studio, you’re not restricted in how many lights, what colours and how bright you want the lights. Virtual clay doesn’t melt under your 3000 W spotlight.
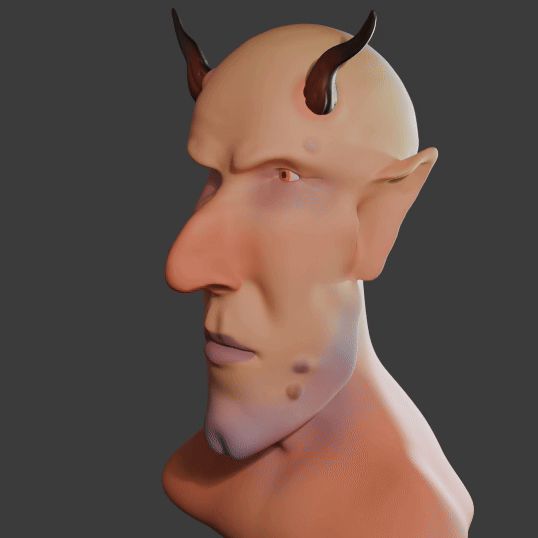
I also gave Bob a nick in his right ear. I’ve had the same mark since I was five (or so), when I ran into a door frame and gashed my ear. There was much blood.
I tried adding an earring, but that didn’t look right somehow. Although I can make a gold-looking thing with no problem, the earring sat in the lobe like a toad on a drum.
The whole thing took me about 5 days, a couple of hours a day.
If I think on, I might tweak a couple of things. The back of his jaw is a bit odd. I might give him a head tattoo, I think Snaggletooth would work well.

So that’s the first paid-for course done. I’ve not really covered much in the way of Blender for 3D printing, or decided what it is I want to do with the app. I had in mind doing fluid simulations, as a visual aid to rheology training.
- Insert Cpt Picard reference here ↩︎
