Category: YouTube videos

  • Wall break demo

    Wall break demo

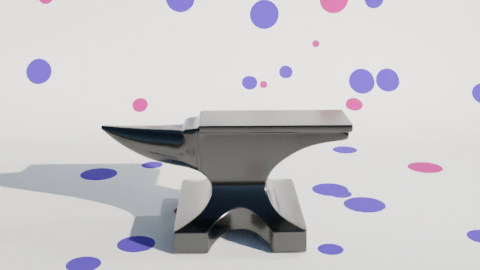
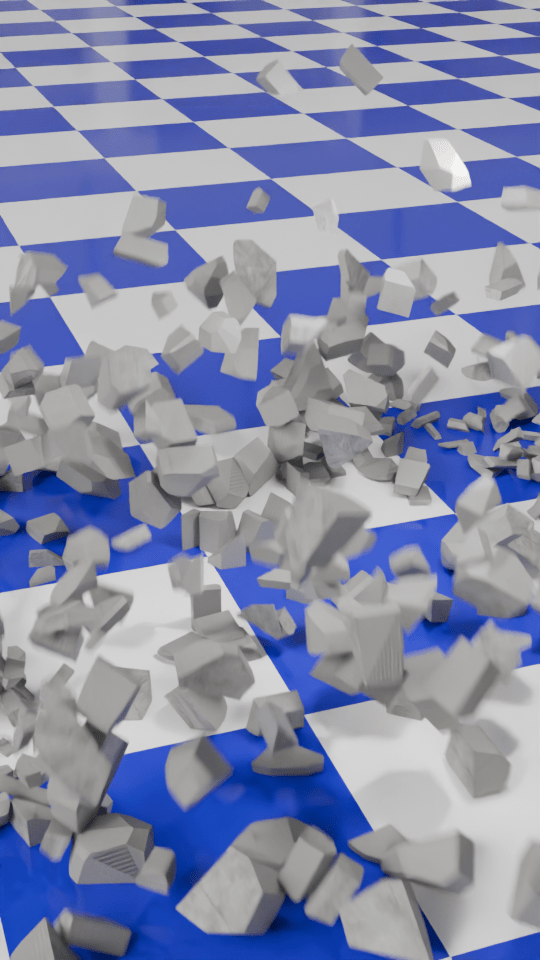
    I used the ‘cell fracture’ add-on to break up the anvil in a previous video. The video below pulls back a bit from the set-up I used for the second part of the inflation (the popping of the anvil) so you can see that the pink anvil starts breaking up immediately and falls to the floor before changing back to the metallic texture.

    The grassy scene behind the polka dot ‘studio’ is a HDRI (High Dynamic Range Image) and it’s used to give ambient light to a scene.

    I thought it would be a good idea to make a demo video to show how the number of cells you break something into affects how the demolition looks.

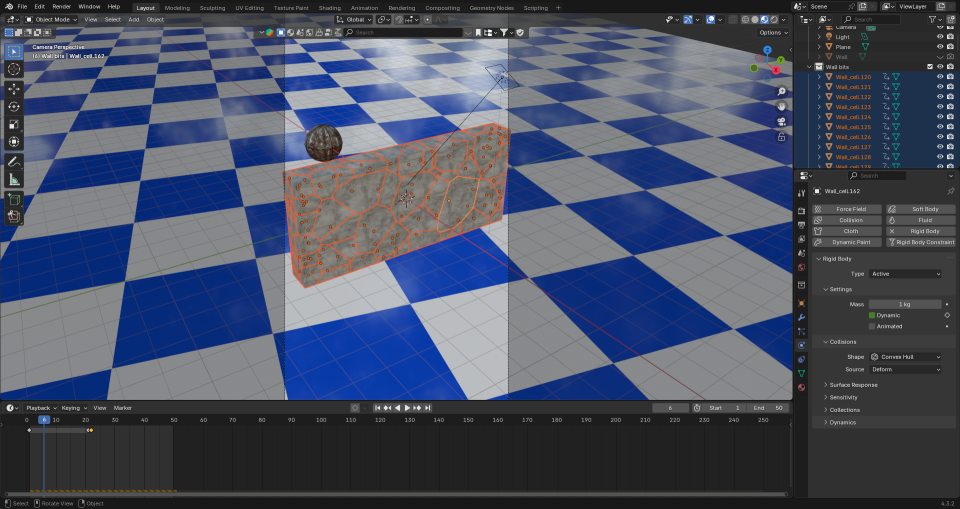
    To make this, I first set up a concrete wall and a nice, shiny checked floor. I also made a rusty metal ball to act as the object that smashes the wall and set up the camera to get a good view of the full event. This would be the basis for the six animations that make up the final video.

    For each of the animations I changed the number of pieces that the wall would be broken into. This is the essence of the video, and was simply a matter redoing the wall break-up (takes a few seconds) and then rendering the animation (about 10 minutes for each part).

    This is how the wall looks when it’s been broken up into 100 cells. When the ball hits the app calculates where the bits will flu out to. Then it’s up to me to add sounds.

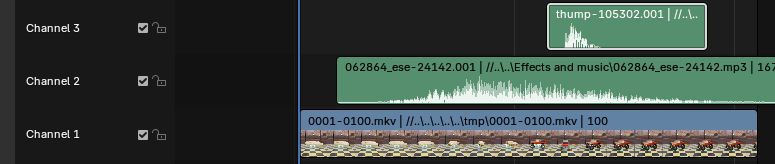
    I then used the Blender video editor to make one video from the six separate animation. Once that was done, I had to find out how to add text to a video. It turned out that is was easy enough using the Blender video editor, you need to set the font and position of the text and use visual editing to set when the text appears. All of this was fairly intuitive now that I’ve used the editor for a while.

    The most complex part was the audio. What I wanted was a series of crashes that conveyed how the size of the particles decreased but the number increased. After a bit of searching I found a two-minute audio of a wall being demolished by a wrecking ball. Some parts were louder and sounded more like a wall being smashed to pieces, others were more like a few pieces being knocked from a wall. I just needed to cut bits out and, for some of the parts, layer up the audio so that there was more noise of crashing concrete because there were more pieces being generated.

    I also put the full audio in the background, to make it sound like an ongoing process at a building site.

    The very last thing I had to do was make sure the video would show as a ‘short’ on YouTube. I uploaded the video that was generated by the Blender Video Editor, but that was categorised as a normal video. So I used Canva to force the video into a ‘Short’ format using a template and that edited video is now on YouTube as a ‘short’.

  • Inflating anvil – part 2!

    Inflating anvil – part 2!

    Changing up a video I made a few months ago. The inflating anvil was a fun little thing I did in June, an anvil inflating and floating out of shot.

    I made two changes to the initial inflation stage. First, I changed the background to polka dots and second I added a shading change so that the anvil turned from a metal anvil to a plastic balloon.

    The easiest way to add the popping was to make another animation using the same background and camera setup, do the break-up and fall as a separate animation and edit the videos together when I added the sound effects.

    The initial break-up after the ‘pop’ happens off camera. There’s an add-on available in Blender that lets you break up an object into random chunks. This is great for breaking walls, smashing up objects or popping inflatable anvils.

    Using the visual video and sound editor in Blender, it was easy enough to edit the two videos together. Three sound effects were used. Inflating balloon and balloon pop were both from Pixabay. The clattering is from the BBC sound archives – all of the metal falling sounds on Pixabay were too hollow, they sounded like coins or cans and I wanted a heavy metal sound.

    What I also had to do – and forgot originally – is reset the aspect ratio to square so that YouTube sees this as a ‘Short’ rather than a full video. Shorts get promoted in the YouTube algorithm in a different way and it’s a lot easier for people to see them. This has the unfortunate side effect that the video looks a bit odd here in the blog.

  • Morphing animation in Blender

    Morphing animation in Blender

    While I looking at ways to morph objects to create soothing animations, I came across a way to make a less-soothing, but still fun, way of morphing any two objects.

    For the base models I’ve used some resource that are in an ‘add-on’ in Blender. Not sure why I chose a banana and a monster truck, you’ll have to ask my brain about that and it’s not talking to me.

    Once you have the two models there’s some animation to be added to make the objects spin. The changeover happens at maximum spin speed at which point the banana becomes invisible and the truck appears.

    This is how the truck and banana look without any rendering. The floor and wall are also just grey objects waiting to be coloured in.

    Once I’d done that, I realised I’d set the banana quite high above the floor, so I animated the truck falling and bouncing.

    Setting the scene was next. I thought it would be nice to have it look like the morph was happening in a car showroom. I made a chequered floor1 and a wall at the back with windows. Getting the window glass to look convincing needed a bit of fiddling around with various settings, but in the end I got it so you can see through the windows to the scenery behind. A couple of blue-tinted backlights add an extra dimension to the objects.

    Once the animation had been rendered, I used the video editing suite to add two sound effects that I downloaded from Pixabay, where I also got music for the ambient videos. The swoosh and the thump could be positioned in time to get them synced with the animation. This is one of those things that’s easy when you know how, but I had a hell of a job finding how to even start video editing.

    Screenshot of a video and audio editing screen.
    Video editor in Blender. The videos and the sound effects can be moved and cued up to happen at the right time. It’s a click and drag system, so pretty easy to use.

    So the ‘swoosh’ in Channel 2 reaches its peak as the banana speeds up and there’s a ‘thump’ in Channel3 timed to coincide with the truck hitting the floor. I did search for a sound effect of a monster truck hitting a tiled floor, but couldn’t find one. Surprisingly.

    1. This is one of the many presets for the Shader editor in Blender, so easy when you know what to look for. ↩︎
  • Ambient videos

    Ambient videos

    Ambient YouTube videos, under a pseudonym for now. I may link further to ‘how-to’ videos once I work out how to do a ‘how to’ video.

    I need a ‘how to do how to do’ video, then.

    Mrs S suggested that I change the rings to doughnuts, though this would be less relaxing IMHO.